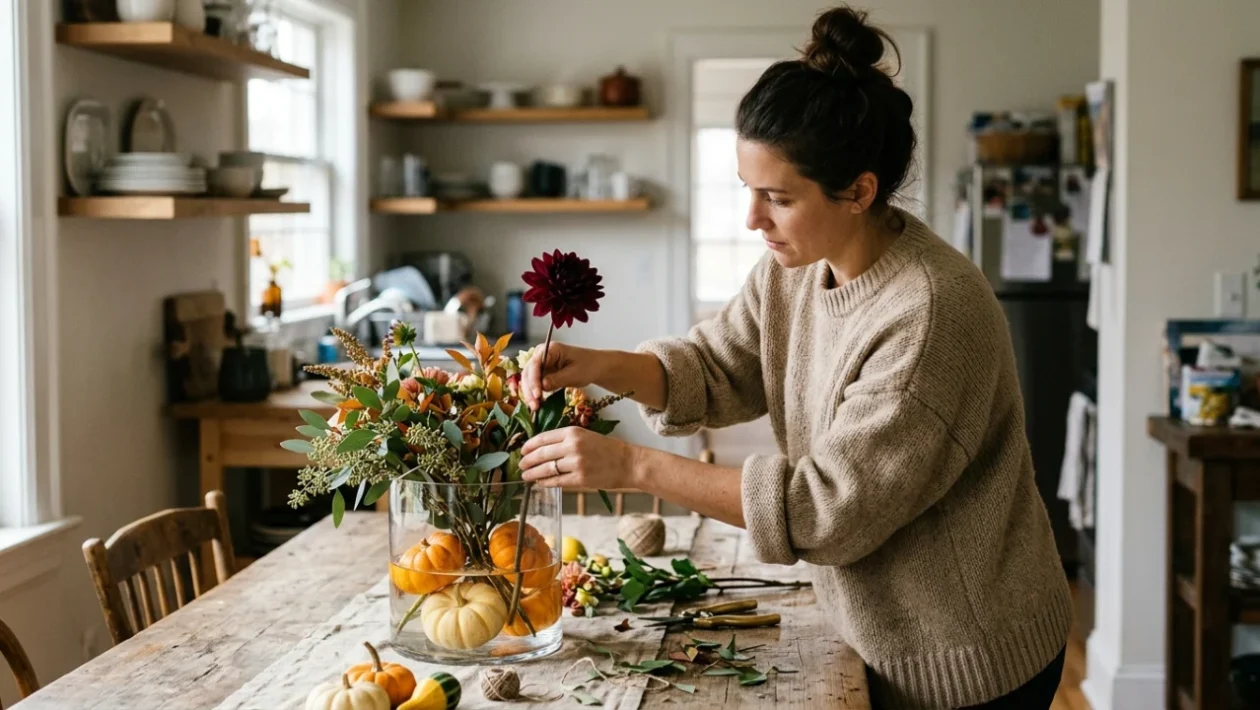
Designing a stunning DIY fall floral centerpiece with pumpkins does not require professional florist training or carving giant gourds. By pairing versatile mini pumpkins with vibrant cut blooms, clear vessels, and layered greenery, you can assemble a balanced autumn tablescape in under twenty minutes that remains fresh throughout seasonal gatherings.
The secret lies in scaling down. While full-sized pumpkins dominate front porches and jack-o’-lantern carving sessions, miniature gourds provide structural stability and texture without overwhelming dining surfaces. They sit easily inside bowls, balance securely within glassware, and allow dinner guests to converse without peering around a massive vegetable wall.
Whether you source your gourds from a local Canadian farm stand or a neighbourhood market, selecting the right base transforms simple produce into an artistic focal point.
Choosing the Right Vessel for Autumn Florals
A classic visual pitfall in autumn decorating is placing loose pumpkins directly on a bare tablecloth where they roll out of place. Anchor your arrangement with a dedicated container that dictates the shape and mood of the entire room.
A transparent glass cylinder offers one of the cleanest modern looks. Placing intact miniature pumpkins directly inside a clear glass vase before adding water and floral stems creates an immediate floating effect. The water magnifies the colourful ribs of the gourds while keeping cut stems fresh and properly hydrated.
For a rustic dining setting, shallow containers yield greater textural depth. A long wooden dough bowl provides the ideal foundation for layering miniature gourds alongside trailing greenery, seed pods, and bold harvest blooms. The warmth of natural wood balances the saturated orange, creamy white, and pale green tones of mixed mini gourds.
A common mistake is assuming cut pumpkins and water cannot mix; submerging intact mini pumpkins in a clear vase protects the rind while keeping floral stems properly hydrated.
Step-by-Step Guide: Assembling the Clear Vessel Display
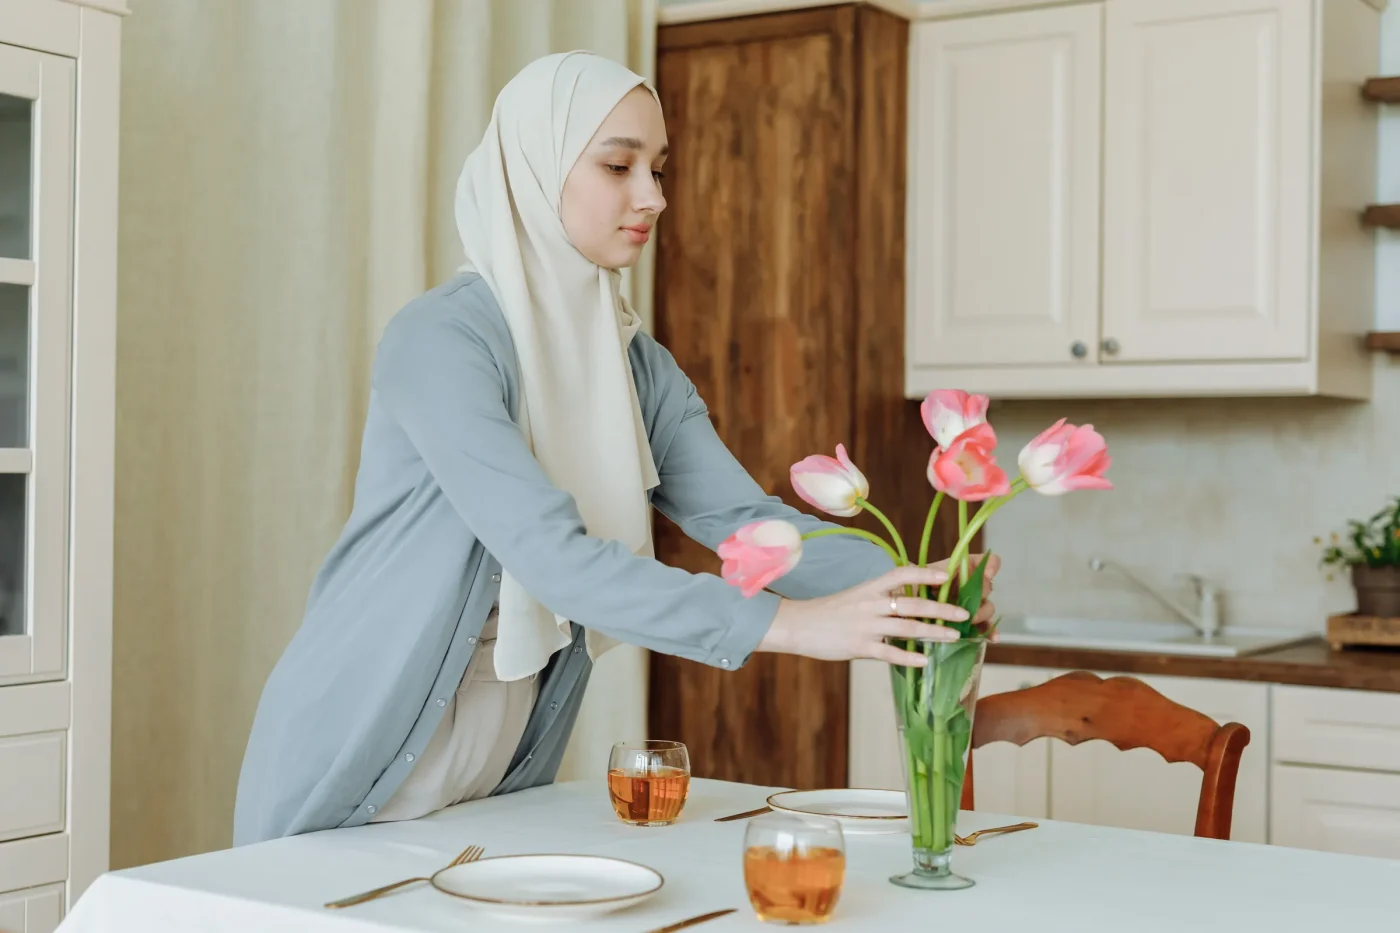
Creating this layered floral arrangement requires only a handful of components and zero specialty tools. Follow this sequence to assemble a balanced display:
- Prep the container: Wash a wide-mouthed glass cylinder or urn thoroughly to remove interior dust and residue.
- Insert the miniature pumpkins: Gently drop three to five firm, unblemished mini pumpkins into the base of the vessel, alternating stem directions for visual interest.
- Add fresh water: Pour room-temperature water into the vessel until the pumpkins are partially or fully submerged, leaving two inches of headspace at the rim.
- Trim floral stems: Cut your seasonal stems at a 45-degree angle, sizing them so the petals rest just above the vase opening.
- Weave in stems and greenery: Slide flower stems between the wedged pumpkins, which naturally anchor the stalks in place without requiring floral foam.
This layout solves the age-old problem of stems shifting or falling flat against the rim of a wide jar.
Alternative Styling Vessels Compared
If you prefer an opaque or dry arrangement, alternative household containers can completely change the presentation. Match your table style with the appropriate container mechanics below:
| Vessel Type | Best Pairing Elements |
|---|---|
| Clear Glass Cylinder | Clean water, intact miniature gourds, and tall cut stems |
| Rustic Dough Bowl | Clustered mini pumpkins, loose greenery sprigs, and broad blossoms |
| Vintage Colander | Stacked tiny pumpkins, seeded branches, and bright red berries |
| Hollowed Mini Gourd | Moist soil plugs, hardy succulents, or short garden cuttings |
The Carving Myth vs. Structural Longevity
A widespread assumption in seasonal decorating suggests that every pumpkin centerpiece requires cutting off the top and scooping out the pulp to act as a vase. While a hollowed-out pumpkin creates a lovely mini planter for succulents or small flower arrangements, exposed flesh begins to soften and decompose within days at indoor room temperatures.
Maintaining the rind intact changes everything. Uncarved mini pumpkins resist moisture loss and microbial decay, lasting weeks rather than days. When used as bowl fillers or submerged whole in clean water, the natural waxy skin seals out bacteria.
If you choose to carve miniature gourds to hold taper candles or flower vials, treat the cut surfaces immediately or plan to craft them mere hours before hosting your dinner guests.
Accents That Tie the Table Together
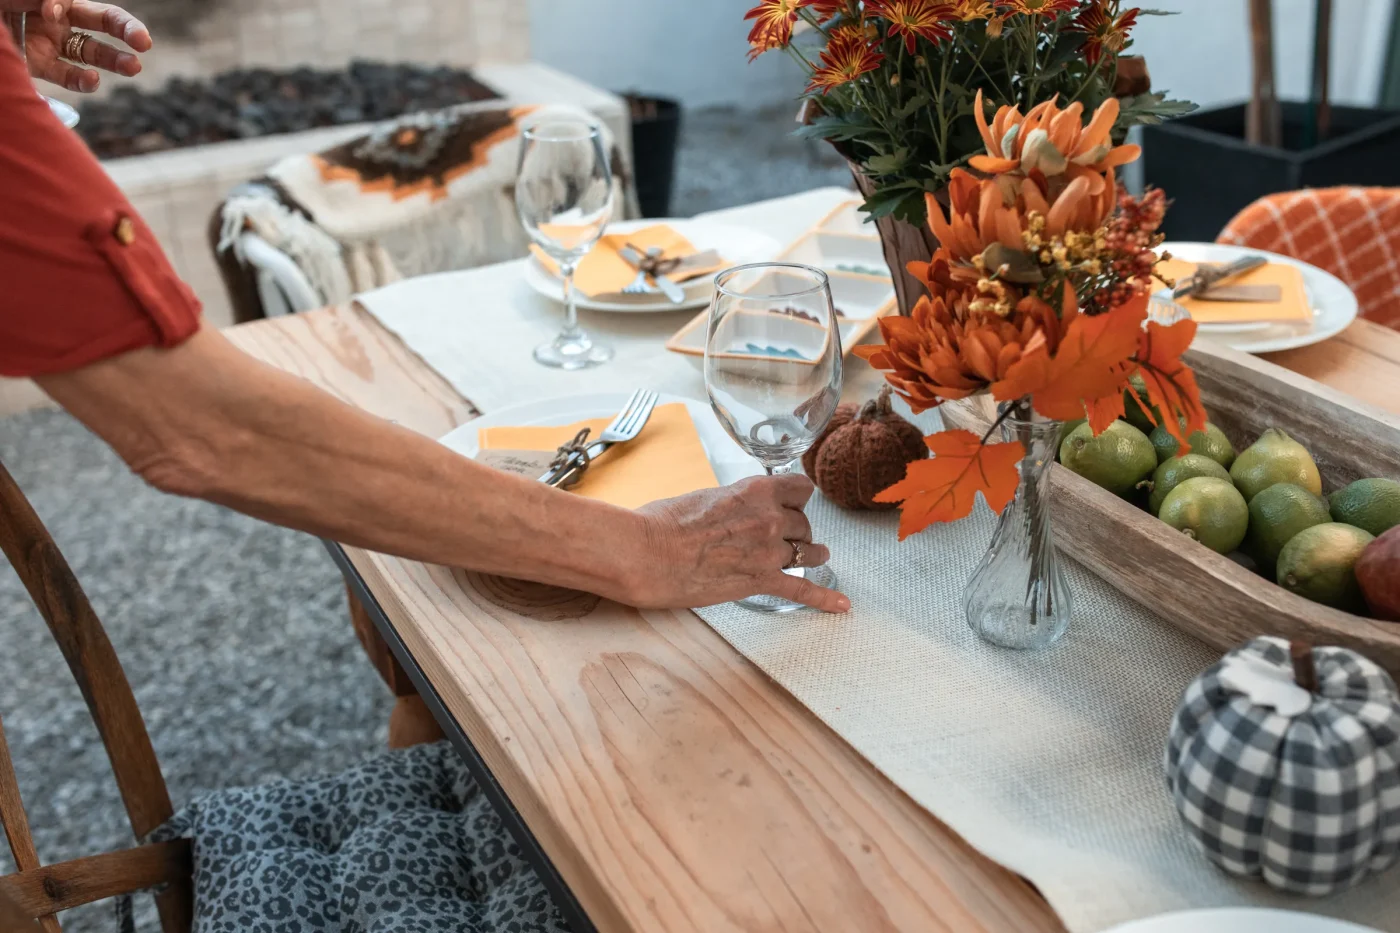
A striking centerpiece never stops at the central container. Carry the visual theme across the rest of the table by placing single mini pumpkins directly on folded linen napkins at individual place settings.
Pairing your central display with natural tapers in varying autumnal tones elevates the setting from a casual craft to an intentional design statement. Tiny gourds nestled around candlestick bases soften hard metal surfaces and reflect soft flickering light throughout dinner.
✨ Ready to craft your own seasonal tablescape? Grab a few mini gourds and your favourite garden clippings to transform your table this weekend.
💚 Share your arrangement ideas with fellow decor enthusiasts who love simple, natural harvest styling.
👇 Leave a comment below telling us which container you plan to use for your autumn feast!